There are 4 primary ways to get information from a SharePoint List or library (this also includes Announcement lists, Calendars, and Blogs):
- Visit the site with a Browser
- Create an Email Alert for a List or Library (this article)
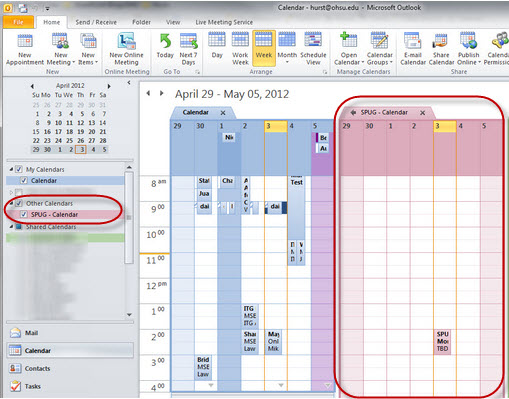
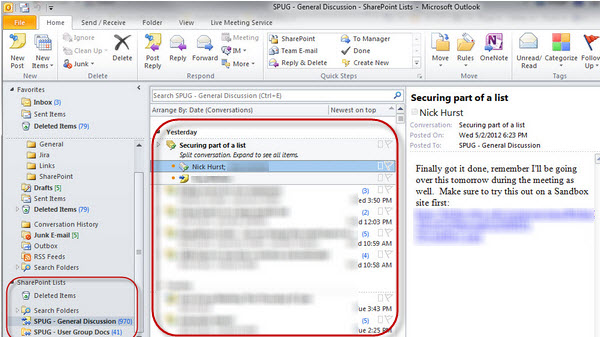
- Sync’ing or Connecting a List or Library with Outlook
- Setting up a RSS Feed on a List
Email Alerts can be setup on any Document Library, List, Calendar, Discussion Board, Blog or even on an individual webpage in SharePoint.
Creating an Alert on a List or Library
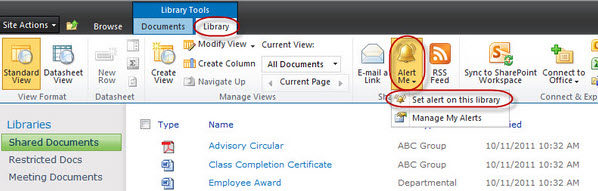
1. First go to the area you would like to create an Alert for, in this example we will setup an alert on the Shared Documents library.
2. Click on the far right content type tab (this could be; Library, List, Calendar, Page, etc), click on Alert Me, choose Set Alert on this …….
3. For the Alert Title, type in a descriptive name that has both the site and list/library name. This will help you know where the alert is coming from by just looking at the email subject.
4. Send Alerts To this should have your name listed, if you have elevated privileges (Site Owners) then you can enroll others in alerts as well.
** For Site Owners: Only individuals can be enrolled in alerts, you cannot enroll a SharePoint group for Alerts**
5. Change Type allows you to specify your alerting criteria. For Discussion Boards and Blogs, the New Items are added works best so you don’t get alerted when someone corrects a spelling error on post. For Document Libraries and Lists, usually you want to be notified of All Changes. All these settings can also be modified later.

6. Send Alerts for These Changes gives you several different options, Anything changes or Someone changes an item that appears in the following view are probably the two most commonly used filters. The view option will only appear if more than one view has been created for the list/library and the Views do not have filter criteria for [My] or [Today] in them. If you see a view that is a better fit for your needs than Anything changes, choose that.

7. Choose how often you want to be alerted and click the OK button.

NOTE: You will receive a confirmation email with the details for the alert you have just created. Each alert email you receive will have a link that will allow you manage (edit/delete) any alerts you have on that specific site.